Molten Chocolate Cakes
Posted on 29 April 2010
Few things set restaurant-goers’ hearts aflutter like molten chocolate cake but no one realizes just how easy they are to make at home. With a little inactive time and almost no prep time you’ll have a dessert that will wow your guests. You can even fib and not let them in on how easy they were to make. I usually achieve this by just simply shrugging my shoulders and saying, ‘you know’ with a knowing smile when asked how long I spent in the kitchen. This is usually blown when my husband tells all our guests that the Kitchen Aid made it… thank you, darling! 😉
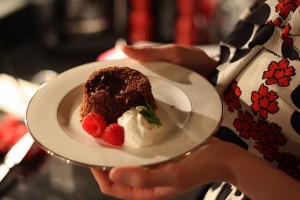
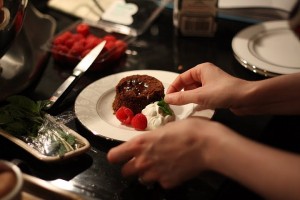
I let the seasons dictate how I will garnish these little pots of chocolate-y joy. In the winter I use small tart redcurrants, in the fall some dark, plump blackberries and when I made these cakes last week I used raspberries and sprigs of mint with a large dollop of freshly whipped cream. I add a teaspoon of sugar and a splash of vanilla extract to my cream as I whip it. The chocolate used in these cakes is dark and not that sweet so the cream adds a little hint of sweetness, as do the raspberries.
This dessert goes perfectly with the rest of this week’s dinner party menu. Whilst the cakes and their chocolate gooey centers are rich and decadent, the portion size prevents anyone from feeling dessert guilt. As some people really do not believe how easy these are to make we decided to do another video just to show the simple steps that go into making molten chocolate cakes.
Notes: As I have mentioned before it is always better to get the best quality ingredients you can. In this case if you get inferior chocolate you don’t get the velvety, gooey and deeply chocolate flavor; you get bland and waxy ooze – trust me, not as good. I use Ghirardelli 60% Cacao Bittersweet Chocolate, you should be able to get it from your local supermarket but if not click here.
This recipe uses whole eggs and egg yolks. As I do not believe in waste – waste not, want not, and all that – you should save the egg whites for another use. The easy Italian almond macaroons are a perfect use for them and you need exactly two, so it works out well! I’ve put this recipe in a category labeled egg yolks and I will have a correlating one labeled egg whites so you never have to waste any partial eggs again.
In this recipe I mention using a double boiler. This may not be a common concept but it is a handy one when it comes to chocolate (you can see it illustrated in the video above). Chocolate has a tendency to scorch when heated to quickly, giving it a bitter taste, and this technique allows gentle heating of the chocolate causing it to melt gradually. To form a double boiler all you need is a medium saucepan with about an inch of water and a bowl that fits on top. Place the medium saucepan over medium heat until the water begins to simmer (you will see little streams of bubbles), then put the bowl over the top and place the ingredients you need to melt/mix in this bowl.
I made these cakes in advance, up to step 4, and then put them in the fridge so when our friends arrived all I had to do was pop them in the oven and whip some cream. Easy-peasy!
Mini Molten Chocolate Cakes, make 6 dessert sized cakes
Gooey Center
2 oz bittersweet chocolate, at least 60% cacao, see note above
1/4 cup heavy cream
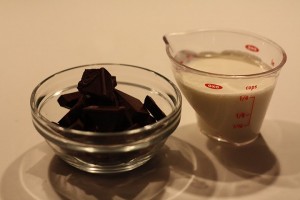
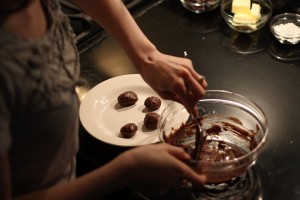
1. Place chocolate and heavy cream in double boiler (see notes above for explanation of a double boiler). Whisk to blend. Refrigerate until firm, about 1-2 hours. Once firm, with cold, wet hands to prevent melting and sticking, roll chocolate mixture into 6 equal balls. Place the balls back in the refrigerator until needed.
Perfectly Tender Chocolate Cake
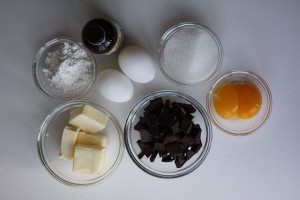
4 oz bittersweet chocolate, at least 60% cacao, see note above
4 oz unsalted butter (1/2 cup)
2 eggs
2 egg yolks
1/3 cup sugar
1/2 tsp vanilla extract
1/4 cup cake flour
Butter, for greasing the ramekins
Whipped cream and fresh fruit and herbs to garnish
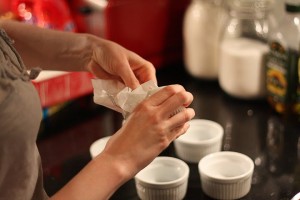
1. Heat oven to 400°F. Butter ramekins well, this will help prevent the cake sticking and make it easier to turn them out.
2. Melt chocolate and butter in double boiler (see note above for explanation of a double boiler). Whisking gently to blend. 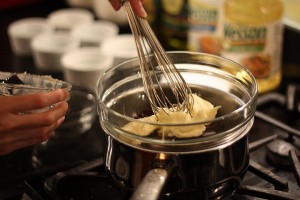
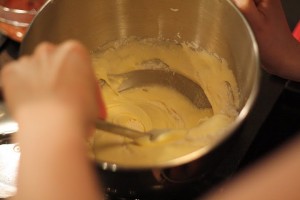
3. Using a stand mixer fitted with whisk attachment, place eggs, yolks, sugar and vanilla in mixer bowl. Whisk on medium speed for 5 minutes, until mixture is light and thick.
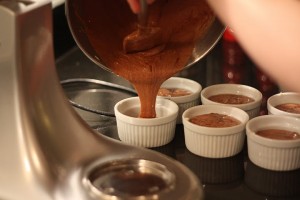
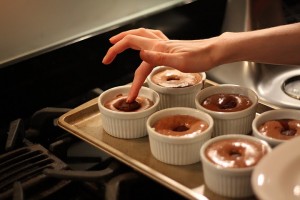
4. Remove bowl from mixer and fold chocolate mixture and flour until just combined. Divide among the 6 prepared ramekins. Place one chocolate ball into each ramekin.
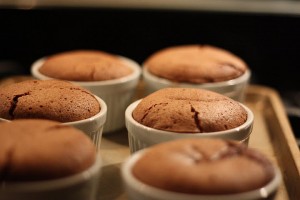
5. Bake for 15 minutes, until cake is firm to the touch. Let sit for 5 minutes. Run a small, sharp knife around each cake, place a plate on top, invert and remove ramekin (you may have to give it a couple of sharp taps too). Garnish with fresh fruit, herbs and cream.
14 responses to Molten Chocolate Cakes

Just made these! Being a teenager and not so much of an experienced cook, i didnt own any ramekins. So I substituted them and used a big muffin/cupcake tray instead. They turned out delicious! Thanks so much for the recipe 🙂
Hi Sarah, so glad that they worked out well! I love hearing about teenagers in the kitchen! You know it’s the cool place to be 😉 Happy cooking, Vienna*
Thank you so much! Let me know how they turn out. I hope you keep reading Tiny Test Kitchen and thank you for checking us out!
Please do let me know if you made them. They are so much easier to make than you would think, as the video shows! Thank you for reading for Tiny Test Kitchen.